Language
 English
 中文简体
中文简体 русский
 Español
 عربى
عربى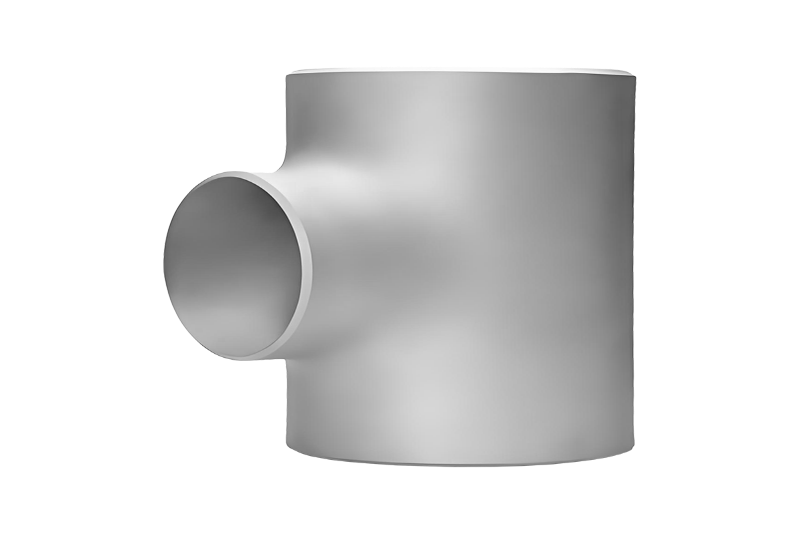
Material Selection for Butt Weld Fittings Choosing the right material is the first step in selecting...
Home / News / Industry News / How to Measure Pipe Fittings: A Practical Guide for Shop and Field Use
How to Measure Pipe Fittings: A Practical Guide for Shop and Field Use

Content
- 1 The Four Measurements That Matter Most
- 2 Tools That Make Measurements Trustworthy
- 3 How to Measure Butt Weld Fittings
- 4 How to Measure Flanges
- 5 How to Measure Socket Weld and Threaded Fittings
- 6 A Quick Reference Table for the Shop Floor
- 7 Common Mistakes and Field Checks
- 8 Match Your Measurements Against the Standard
Measuring a pipe fitting looks like a two-minute job until an untagged part is in your hand and a spool is waiting for it. Pipe is easy: nominal size and wall thickness, and the pipe is identified. A fitting is a three-dimensional part, and it has to be checked across several dimensions at once: the outside diameter of the ends, the wall thickness, the center-to-end or face-to-face length, and the geometry of the connection. Get one of them wrong and the weld prep, the alignment or the entire spool can be scrap.
We have manufactured pressure piping components in Jiangyin since 1993, and our inspection team measures butt weld fittings, socket weld fittings, threaded fittings and flanges every working day. What follows is the method we use in our own shop, written for buyers, QC inspectors and field engineers who need numbers they can trust.
The Four Measurements That Matter Most
Whatever the fitting, four questions cover almost every situation. Work through them in order and you rarely need to guess.
- End size and outside diameter. Fittings are ordered by nominal pipe size, but a caliper reads actual outside diameter. A 2-inch (DN50) fitting measures about 2.375 in (60.3 mm) across the end face, not 2 inches. Check both ends, because ovality or a damaged end shows up here first.
- Wall thickness and schedule. Wall thickness separates SCH 40 from SCH 80 from XXS, and it decides the bore. Measure at the end with a caliper or an ultrasonic gauge, and take at least four readings around the circumference.
- Length. Center-to-end for elbows, tees and laterals; face-to-face for flanges and valves; overall length for reducers, caps and stub ends. The standard dimension is the one that governs fit-up on site.
- End geometry. Bevel angle and root face for butt weld ends, socket bore and socket depth for socket weld ends, thread form and engagement for threaded ends.
Sketch the part, write the four numbers on the sketch, and keep the sketch with the part. That habit prevents more mismatches than any other single step we have seen in thirty years of production.
Tools That Make Measurements Trustworthy
You do not need a metrology lab, but you do need the right handful of instruments and a clean, flat surface to work on.
- Vernier or digital calipers, 0 to 6 in and 0 to 12 in, for outside diameter, wall thickness and socket depth.
- A steel tape or a pi tape for large diameters. A pi tape reads diameter directly and is the fastest way to check a DN1800 elbow or a heavy flange.
- An ultrasonic thickness gauge when the wall must be verified away from the end face.
- An angle finder or protractor for laterals, 45-degree elbows and branch angles.
- A straight edge, a flat surface and a flange square for squareness checks.
- A thread gauge or a matching pipe nipple for threaded fittings.
- The relevant standard dimension table, because comparing a reading with a table is faster than calculating from scratch.
Measure at room temperature wherever possible, and keep the part supported so that its own weight does not distort the reading.
How to Measure Butt Weld Fittings
Butt weld fittings to ASME B16.9 are defined by outside diameter, wall thickness and center-to-end dimensions, so those are the numbers to confirm first.
Elbows: Center-to-End and Angle
Lay the elbow on a flat surface with one end facing you and measure the outside diameter of that end. Half of that figure gives you the centerline. The center-to-end dimension then runs from that centerline to the far end face, measured along the other leg. On a 90-degree long radius elbow the center-to-end is roughly 1.5 times the nominal size, and on a 45-degree elbow it is about 0.625 times the nominal size, so a quick calculation tells you whether your reading belongs in the right family before you trust it. For 180-degree returns, record both the center-to-center distance and the back-to-face distance, since drawings call for different ones. Finish with the bevel angle, the root face and the actual bore.
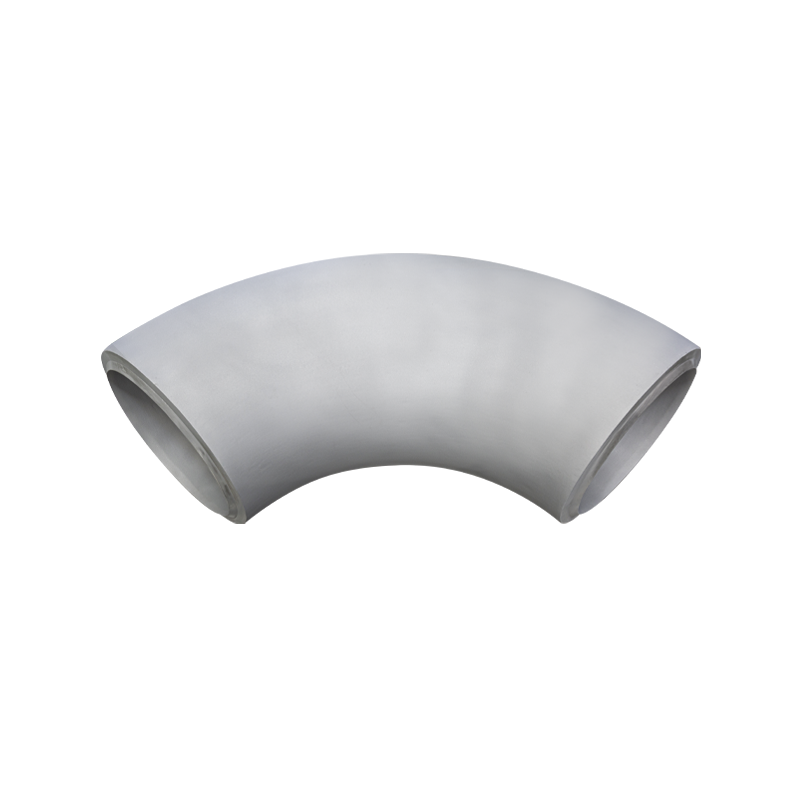 Butt Weld 90 Degree ElbowWe produce large-diameter welding elbows and thick-walled high-pressure elbows. The maximum diameter of the elbow can be DN3800. At present, we have a complete range o...View Product →
Tees, Crosses and Laterals
A tee has two governing dimensions: the run, measured end to end through the body, and the branch, measured from the run centerline to the branch end face. On an equal tee the two should match; on a reducing tee, measure the branch outside diameter as well and note which outlet is reduced. A lateral tee adds a branch angle. Crosses follow the same logic with a fourth outlet, and it pays to check all four ends for diameter and squareness.
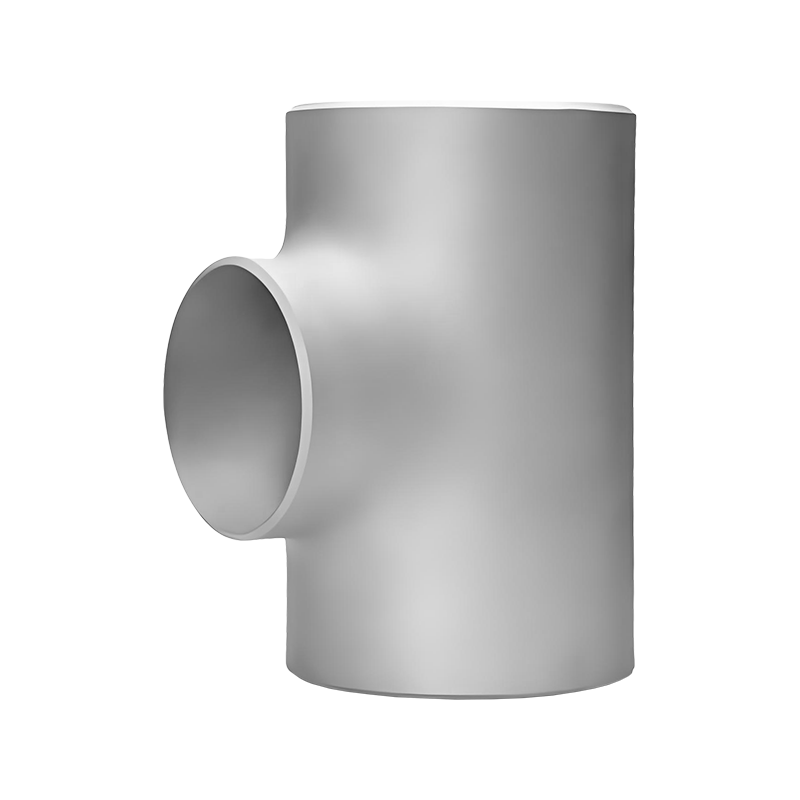 Butt Weld Equal TeeAn equal tee is a critical fitting in piping systems, designed to split or combine fluid flow while maintaining consistent pipe diameters across all three openings. Th...View Product →
Reducers, Caps and Stub Ends
Concentric reducers are checked by overall length, large end outside diameter, small end outside diameter and the wall thickness at both ends. An eccentric reducer adds the flat side and the offset between the two centerlines, which is easy to read with a straight edge resting on the flat. Caps are defined by outside diameter, height and wall thickness. Stub ends are measured by length, lap outside diameter and lap thickness, with the lap checked at several points around the circumference.
How to Measure Flanges
Flange measurement is mostly about the bolt pattern, because that decides whether the joint will ever bolt up. Record the flange outside diameter, the flange thickness, the bolt circle diameter, and the number and diameter of the bolt holes. Then add the facing details: for a raised face flange, measure the raised face diameter and its height above the flange face; for a ring type joint flange, measure the groove and note the ring number. Finally check the bore and the hub diameter at the weld end against the pipe.
Bolt circle diameter is the tricky one in the field. With an even number of holes, measure from the center of one bolt hole straight across to the center of the opposite hole. With an odd number, measure from a hole center to the flange center and double it. Count the holes twice, because one extra or missing hole is a very expensive mistake.
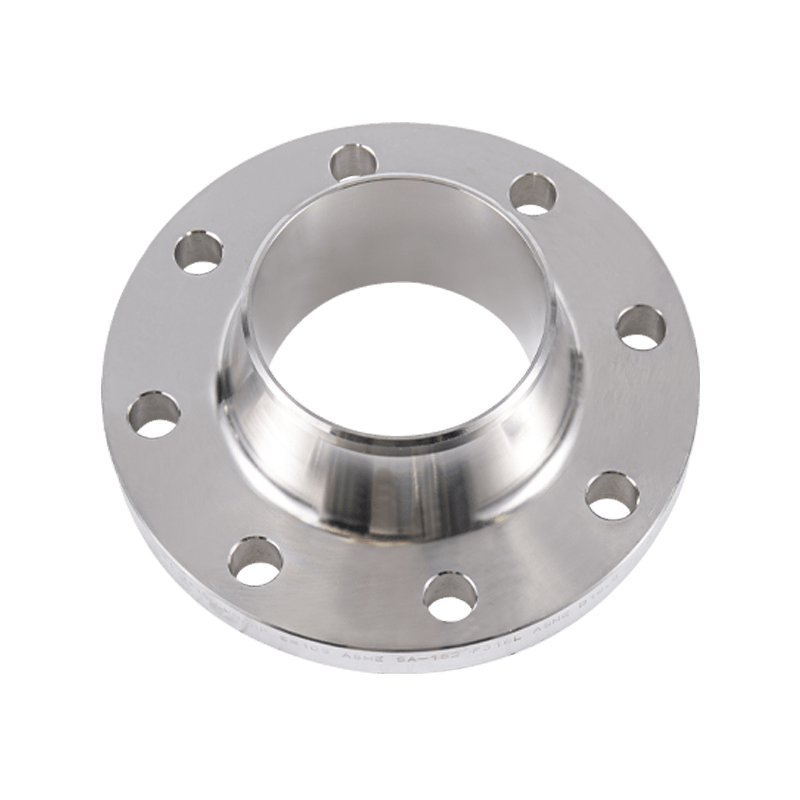 Weld Neck FlangeThe Weld Neck Flange stands as the ultimate solution for high-pressure, high-temperature environments, engineered to deliver unmatched reliability through its robust b...View Product →
How to Measure Socket Weld and Threaded Fittings
Small bore forged fittings to ASME B16.11 are governed by socket or thread dimensions rather than long center-to-end lengths. For a socket weld elbow, tee or coupling, measure the socket bore, the socket depth and the wall thickness, and confirm that the bore matches the pipe outside diameter. For threaded fittings, confirm the thread size and form, the thread length and the overall length, and test the thread with a gauge or a matching nipple. Because these parts often go onto high pressure and high purity lines, a burr or a shallow socket is worth catching before the fitting reaches the welder.
A Quick Reference Table for the Shop Floor
Print this table, keep it beside the bench and fill in a reading for every line before the part moves on.
| Fitting type | Dimensions to record | Best tool |
|---|---|---|
| Butt weld 90-degree elbow | End outside diameter, wall thickness, center-to-end, bevel angle | Calipers, tape, angle finder |
| Equal tee | Run end-to-end, branch height, both end diameters | Tape, calipers, straight edge |
| Concentric reducer | Overall length, large end diameter, small end diameter, both wall thicknesses | Calipers, tape |
| Weld neck flange | Outside diameter, thickness, bolt circle, hole count and size, raised face height, bore | Calipers, tape, flange square |
| Socket weld fitting | Socket bore, socket depth, wall thickness | Bore gauge, depth gauge |
| Threaded fitting | Thread size and form, thread length, overall length | Thread gauge, calipers |
Common Mistakes and Field Checks
- Treating nominal size as outside diameter, then ordering a part that cannot fit the pipe.
- Measuring from the bevel instead of the end face, which shortens every reading.
- Reading only one end of an elbow, tee or reducer and assuming the other end matches.
- Comparing the fitting with the pipe schedule but never measuring the actual wall thickness of either.
- Forgetting facing details such as raised face, ring joint groove or flat face, which cannot be corrected on site.
If a reading falls outside what you expect, measure again with a second tool before rejecting the part. A caliper that has been dropped or a tape with a bent hook causes more false rejections than genuine non-conformance.
Match Your Measurements Against the Standard
A number on its own means very little. It becomes useful when you compare it with a standard: butt weld fittings against ASME B16.9, flanges against ASME B16.5, forged socket weld and threaded fittings against ASME B16.11, and projects in Europe or Japan against DIN or JIS B2311 tables. If you are not sure how a part should be classified before you start, a short primer on what a pipe fitting actually is will help you choose the right table.
When you need a replacement that matches an existing line, our ASME B16.9 butt weld fittings are produced to the same dimensional tables, in carbon steel, stainless steel, alloy steel, duplex and nickel alloys, so a measurement taken in the field can be matched to a drawing on our side.
Every project eventually comes down to one fitter, one tape measure and one joint that has to line up. Taking four careful readings before the weld is struck is still the cheapest quality control available.
If you are holding an untagged fitting, an old drawing or a sample you cannot identify, send us the four numbers you measured, or send the part itself. With more than thirty years of production experience, a stock of common sizes and a technical team certified in MT, PT, UT and RT, we can confirm the size, the material grade and the standard, and quote a matching fitting quickly.
Latest News
News And Blogs
Stay Informed About Our Recent Events